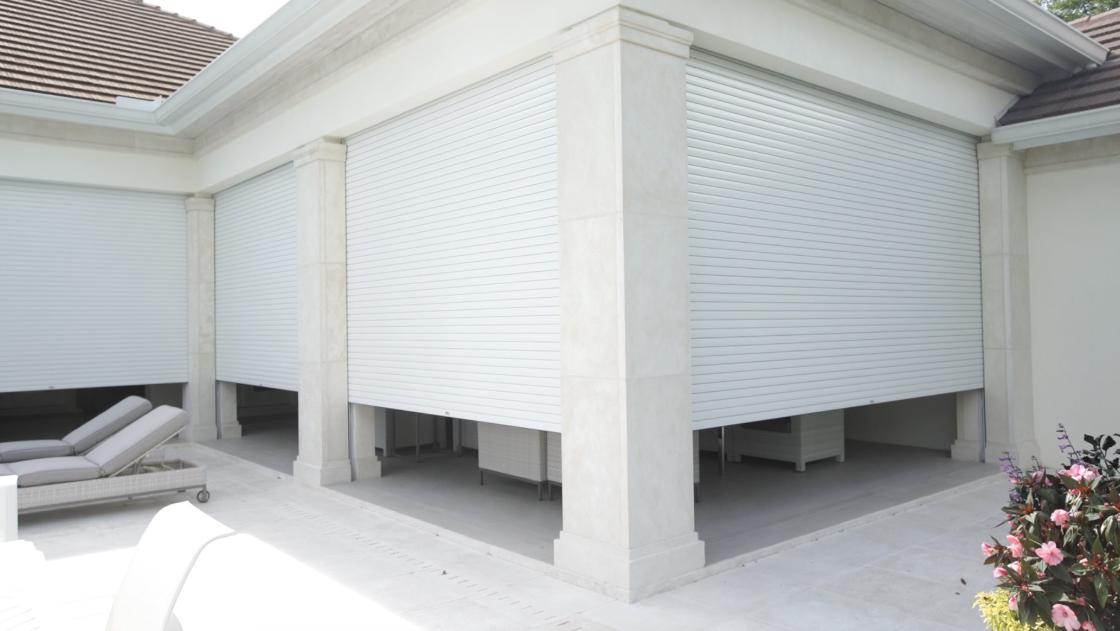
A Guide to Installing Roller Shutters at Your Place
Installing roller shutters can significantly enhance the security, privacy, and energy efficiency of your home or business. To ensure a successful installation, it’s important to follow a clear and specific process.
This guide walks you through each step, from preparation to final adjustments, helping you achieve professional results.
1. Select the Right Roller Shutters
Start by choosing shutters that meet your specific needs. For homes, lightweight aluminium shutters are ideal for insulation and aesthetics. In contrast, heavier steel shutters are better suited for commercial spaces requiring robust security. Choose between manual and motorised options based on your convenience and budget.
2. Gather the Necessary Tools
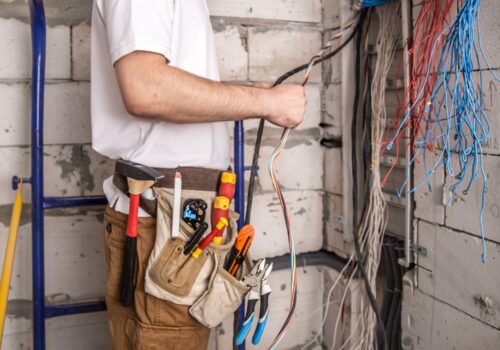
Ensure you have all the tools required for the installation, including:
- A drill and drill bits
- Screwdrivers (flathead and Phillips)
- Measuring tape
- Spirit level
- Screws and wall plugs
- A ladder (if installing shutters at height)
3. Take Precise Measurements
Measure the width and height of your windows or doors where the shutters will be installed. For external shutters, include the frame dimensions. Double-check your measurements to avoid errors that could compromise the fit or functionality of the shutters.
4. Mark the Mounting Points
Using a pencil and measuring tape, mark where the roller shutter box and side tracks will be installed. Ensure these marks are level by using a spirit level. This step ensures the shutters will roll smoothly and stay aligned.
5. Install the Side Tracks
Secure the side tracks to the wall using screws and wall plugs. Ensure they are perfectly vertical and tightly fixed. These tracks guide the roller shutters and support their movement, so precise alignment is critical.
6. Attach the Roller Shutter Box
Fix the roller shutter box at the top of the window or door. This box houses the rolling mechanism and the shutter itself. Use a drill to secure it firmly in place, ensuring it is level and centred over the opening.
7. Connect and Test the Mechanism
For manual shutters, attach the winding handle or strap. For motorised shutters, connect the motor to a power source and test its operation using the control switch or remote. Verify that the shutters roll up and down smoothly and lock securely in place.
8. Final Adjustments and Sealing
Check for any gaps between the shutters and the frame. Use sealant or weatherproof strips to close these gaps, ensuring proper insulation and protection against drafts or rain.
Conclusion
By following these steps, you can successfully install roller shutters that enhance the functionality and security of your property. For complex installations, consider consulting professionals to ensure precision and durability.


