
How to Install Architectural Shingles Roof: A Step-By-Step Guide
When it comes to roofing materials, architectural shingles are a popular choice for homeowners seeking both durability and aesthetic appeal. These shingles not only protect your home from the elements but also add a touch of elegance to its exterior. In this step-by-step guide, we’ll walk you through the process of giving your home a beautiful and sturdy architectural shingles roof.
Step 1: Prepare Your Roof
Start by ensuring your roof is clean and free from any debris. Remove the old roofing material if necessary and inspect the roof deck for any damage. Repair or replace any damaged areas.
Step 2: Install Drip Edge
Attach a drip edge along the eaves of your roof. The drip edge helps channel water away from the fascia and prevents it from seeping under the shingles.
Step 3: Install Roofing Felt
Lay down roofing felt across the entire roof. Secure it in place with roofing nails or a nail gun. Overlap the felt sheets to ensure complete coverage and protection.
Step 4: Apply Starter Shingles
Begin at the eaves and install starter shingles along the entire perimeter of the roof. These shingles provide a secure base for the rest of your architectural shingles.
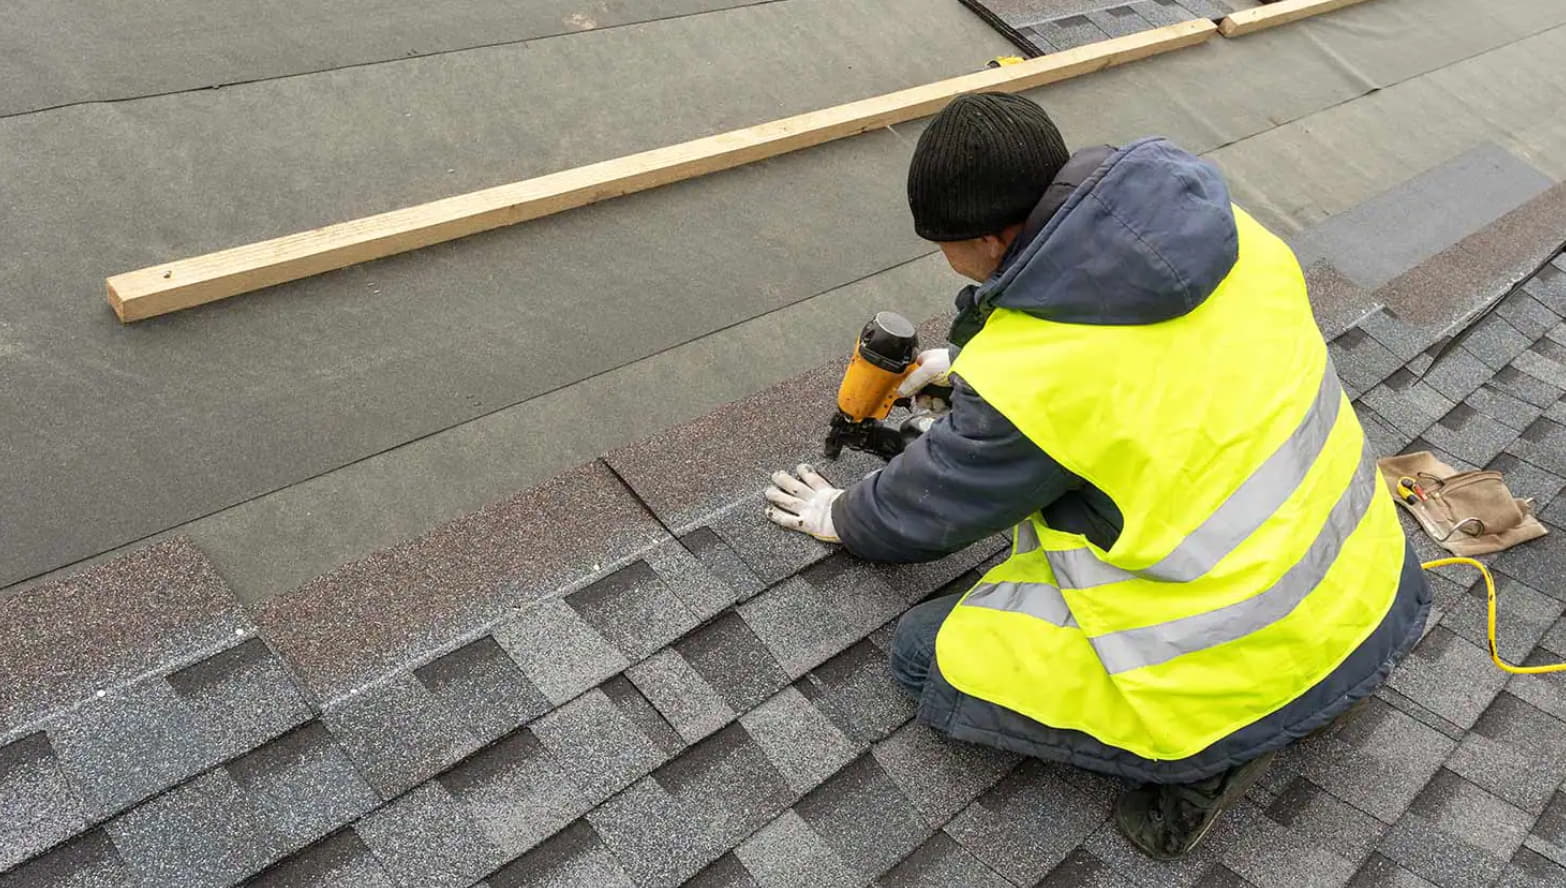
Step 5: Install Architectural Shingles
Starting from the bottom of the roof, begin installing the architectural shingles. Overlap each shingle to create a staggered pattern. Use roofing nails to secure the shingles in place, making sure to follow the manufacturer’s guidelines for nailing patterns and placement.
Step 6: Cut Shingles as Needed
When you reach the end of a row or need to fit shingles around vents, chimneys, or other obstacles, use a utility knife to carefully trim the shingles to the correct size and shape.
Step 7: Ridge Cap Installation
Finish the job by installing ridge caps along the ridges of your roof. These caps provide extra protection and a finished look. Secure them with roofing nails and apply roofing cement to seal the edges.
Step 8: Cleanup and Inspection
After you’ve completed the installation, clean up any debris from the roof and ensure that all shingles, flashing, and ridge caps are securely in place. Conduct a thorough inspection to spot any potential issues.
Conclusion
Installing architectural shingles roof is a rewarding project that can enhance the beauty and durability of your home’s roof. With the right tools, materials, and careful attention to detail, you can achieve a professional-looking result. Remember to follow safety precautions throughout the process, including the use of a safety harness and proper ladder placement.


