
Avoid Common Mistakes When Replacing Broken Tiles Easily
Tile mishaps are no strangers to any homeowner, and the sight of cracked or broken tiles can quickly turn a beautiful room into an eyesore. Whether due to accidental heavy impacts or natural wear and tear over time, replacing broken tiles is a skill worth having up your sleeve. With a pinch of patience and the right technique, restoring the pristine look of your floors or walls might be simpler than you think. In this guide, you’ll learn how to sidestep common pitfalls in the process of replacing cracked tiles, ensuring a smooth, professional-looking finish.
Dive Right In: What To Know Before You Start
1. Choosing the Right Replacement Tile
Matching your new tile with the old one might seem straightforward, but it’s a detail that many overlook. Subtle differences in colour or pattern can stick out like a sore thumb. When replacing broken tiles, always take a piece of the broken tile to the store for colour and texture matching. For those who planned and have spare tiles from the original batch, your foresight will pay off handsomely here.
2. Accurate Measurement is Key
One common mistake in replacing cracked tiles is cutting the new tile without double-checking the measurements. Even a small error can lead to gaps or an uneven finish. Use a reliable tile cutter for precision and confirm your measurements before cutting. Remember, measure twice, cut once!
3. Don’t Skimp on Adhesive
A generous yet precise application of adhesive is crucial. Scrimping on adhesive can result in loose tiles that are prone to breaking again. On the flip side, too much adhesive can ooze out between tiles, making grout application messy. Apply just enough adhesive to create a solid bed for the tile, ensuring it’s neither too much nor too little.
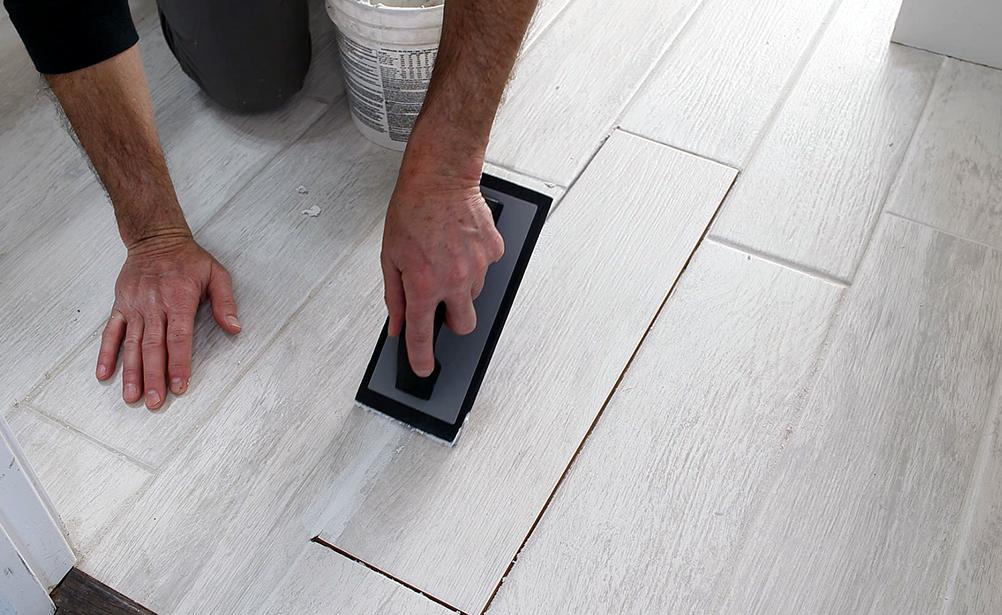
4. Mind the Gaps: Proper Grouting Techniques
After securely placing your tile, giving it sufficient time to bond is just as important as the bonding itself. Rushing the grouting process can disturb the tile’s placement. Once it’s time to grout, make sure to apply it evenly, filling all the spaces thoroughly to avoid moisture seepage and future damage.
5. Final Touches Count
After the grout has cured, a final wipe-down with a damp cloth will remove any haze left on the tile surface, giving your work a professional finish. Remember to seal the grout as well, especially in high-moisture areas, to extend the life of your tile work.
Final Thoughts
In conclusion, mastering the art of replacing broken tiles can significantly elevate the appearance of your space while saving on costly repairs. Armed with the right knowledge—from selecting the appropriate replacement, ensuring accurate measurements, using the correct amount of adhesive, applying expert grouting methods, to performing the essential final touches—you are well on your way to tackling this replacing cracked tiles project with confidence. Remember, precision and patience are your best tools in avoiding common mistakes and achieving a flawless, durable finish that restores the beauty and functionality of your tiled areas.


