
Refinishing Hardwood Floors: Quick Tips for Great Hardwood Flooring
Many homeowners wouldn’t consider tackling a job like refinishing hardwood floors, but it’s really not as difficult as it appears at first glance. It does require renting specialized equipment (including a drum sander that can eat away much of your hardwood floors in a blink of an eye), but the basic skills required are well within the reach of most homeowners. Let’s look at the major steps involved in a renovation project like refinishing hardwood floors.
Preparation
This is is a job that takes research and planning, especially for the DIYer tackling it for the first time. Refinishing hardwood floors requires a lot of patience, typically at least 3 passes with the heavy drum sander, cutting in the edges with an edger, and then screening everything with a buffer. And that’s just the sanding; there’s still 2-3 coats of stain to apply, plus at least 3 coats of a polyurethane. Among all these steps marble polishing is also a part of flooring.
Long story short, refinishing floors is a slow, methodical process. Corners can’t be cut ot steps skipped, as lap marks and unevenly sanded surfaces will definitely show in the finished product. Don’t tackle this job if you’re a DIYer who gets impatient or likes to quickly finish projects.
Use the Right Equipment
A belt sander or palm sander won’t cut it for this job, so it’s necessary to rent special equipment from an equipment rental store or a home improvement store. Necessary equipment includes a drum sander (or equivalent heavy orbital sander or box sander), an edger, and the corresponding paper in different grits. Don’t be shy about asking questions and have the person renting the equipment demonstrate how to use the equipment before leaving the store, including putting on and taking off the sandpaper.
Always get extra sandpaper, as its often takes more and the rental place will buy back any unused paper. Don’t forget plastic sheeting to seal off areas of the house from dust and tack cloth to clean up dust when sanding is completed.
Have a Plan
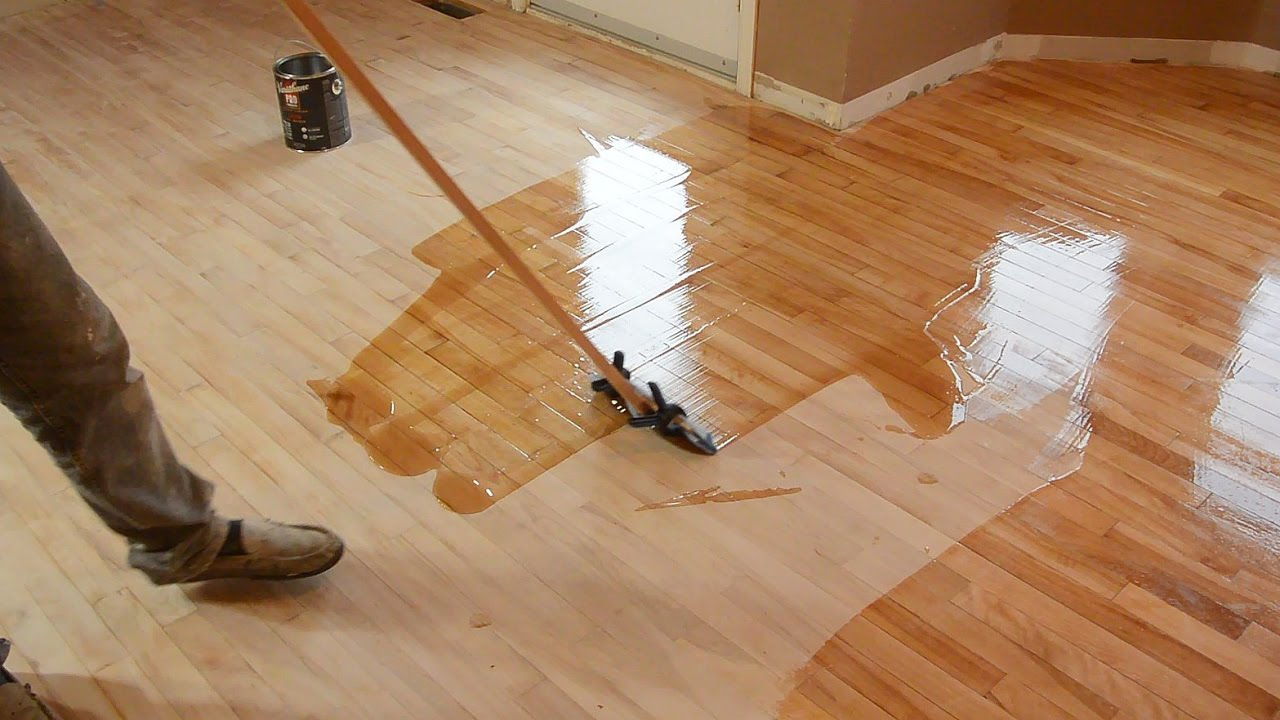
There’s plenty of great step-by-step information for free on the Internet about the actual process of sanding your wood floors, as far as the actual mechanics. Start in a low-traffic, low visibility area to get a feel for it, and where a few small mistakes won’t be too glaring. Know what rooms to complete in what order before starting.
Sand everything down with the roughest grit then move up to the next grit; resist the urge to get one room done completely, then move on to another room, etc. If sanding a lot of floor (more than 500 sq. ft.), be prepared for it to take 2-3 days to complete just the sanding. Allow time for the stain and polyurethane to dry between coats, as well as 2-3 days after applying the final polyurethane coat before any foot traffic.


